PIM keeps a history for every inspection area, so you can look back at a property's previous inspections — the notes and photos captured on earlier visits — without leaving the inspection you're working on. It's especially useful at an exit inspection, when you want to compare the property's current condition against the entry record and document anything that has changed.
In this article:
Entry and Exit Inspections
A tenancy is usually bookended by two inspections. Understanding how they pair up makes the history far more useful:
- Entry (Ingoing) inspection — the condition recorded at the start of a tenancy. This is your baseline.
- Exit (Outgoing) inspection — the condition recorded when the tenant moves out.
- Area History — for each area, PIM shows you the previous inspection's notes and photos, so at an exit you can see how that same area looked last time (or at entry) and record what has changed.
Having the previous inspection's photos and notes on hand as you work gives you a clear point of comparison for bond and end-of-tenancy decisions — the kind of before-and-after record that holds up if a claim is disputed.
Viewing an Area's History
| 1 | Open the inspection, then open the Inspection Area you want to review. |
| 2 | On the area's Notes screen, tap the History icon (the clock). |
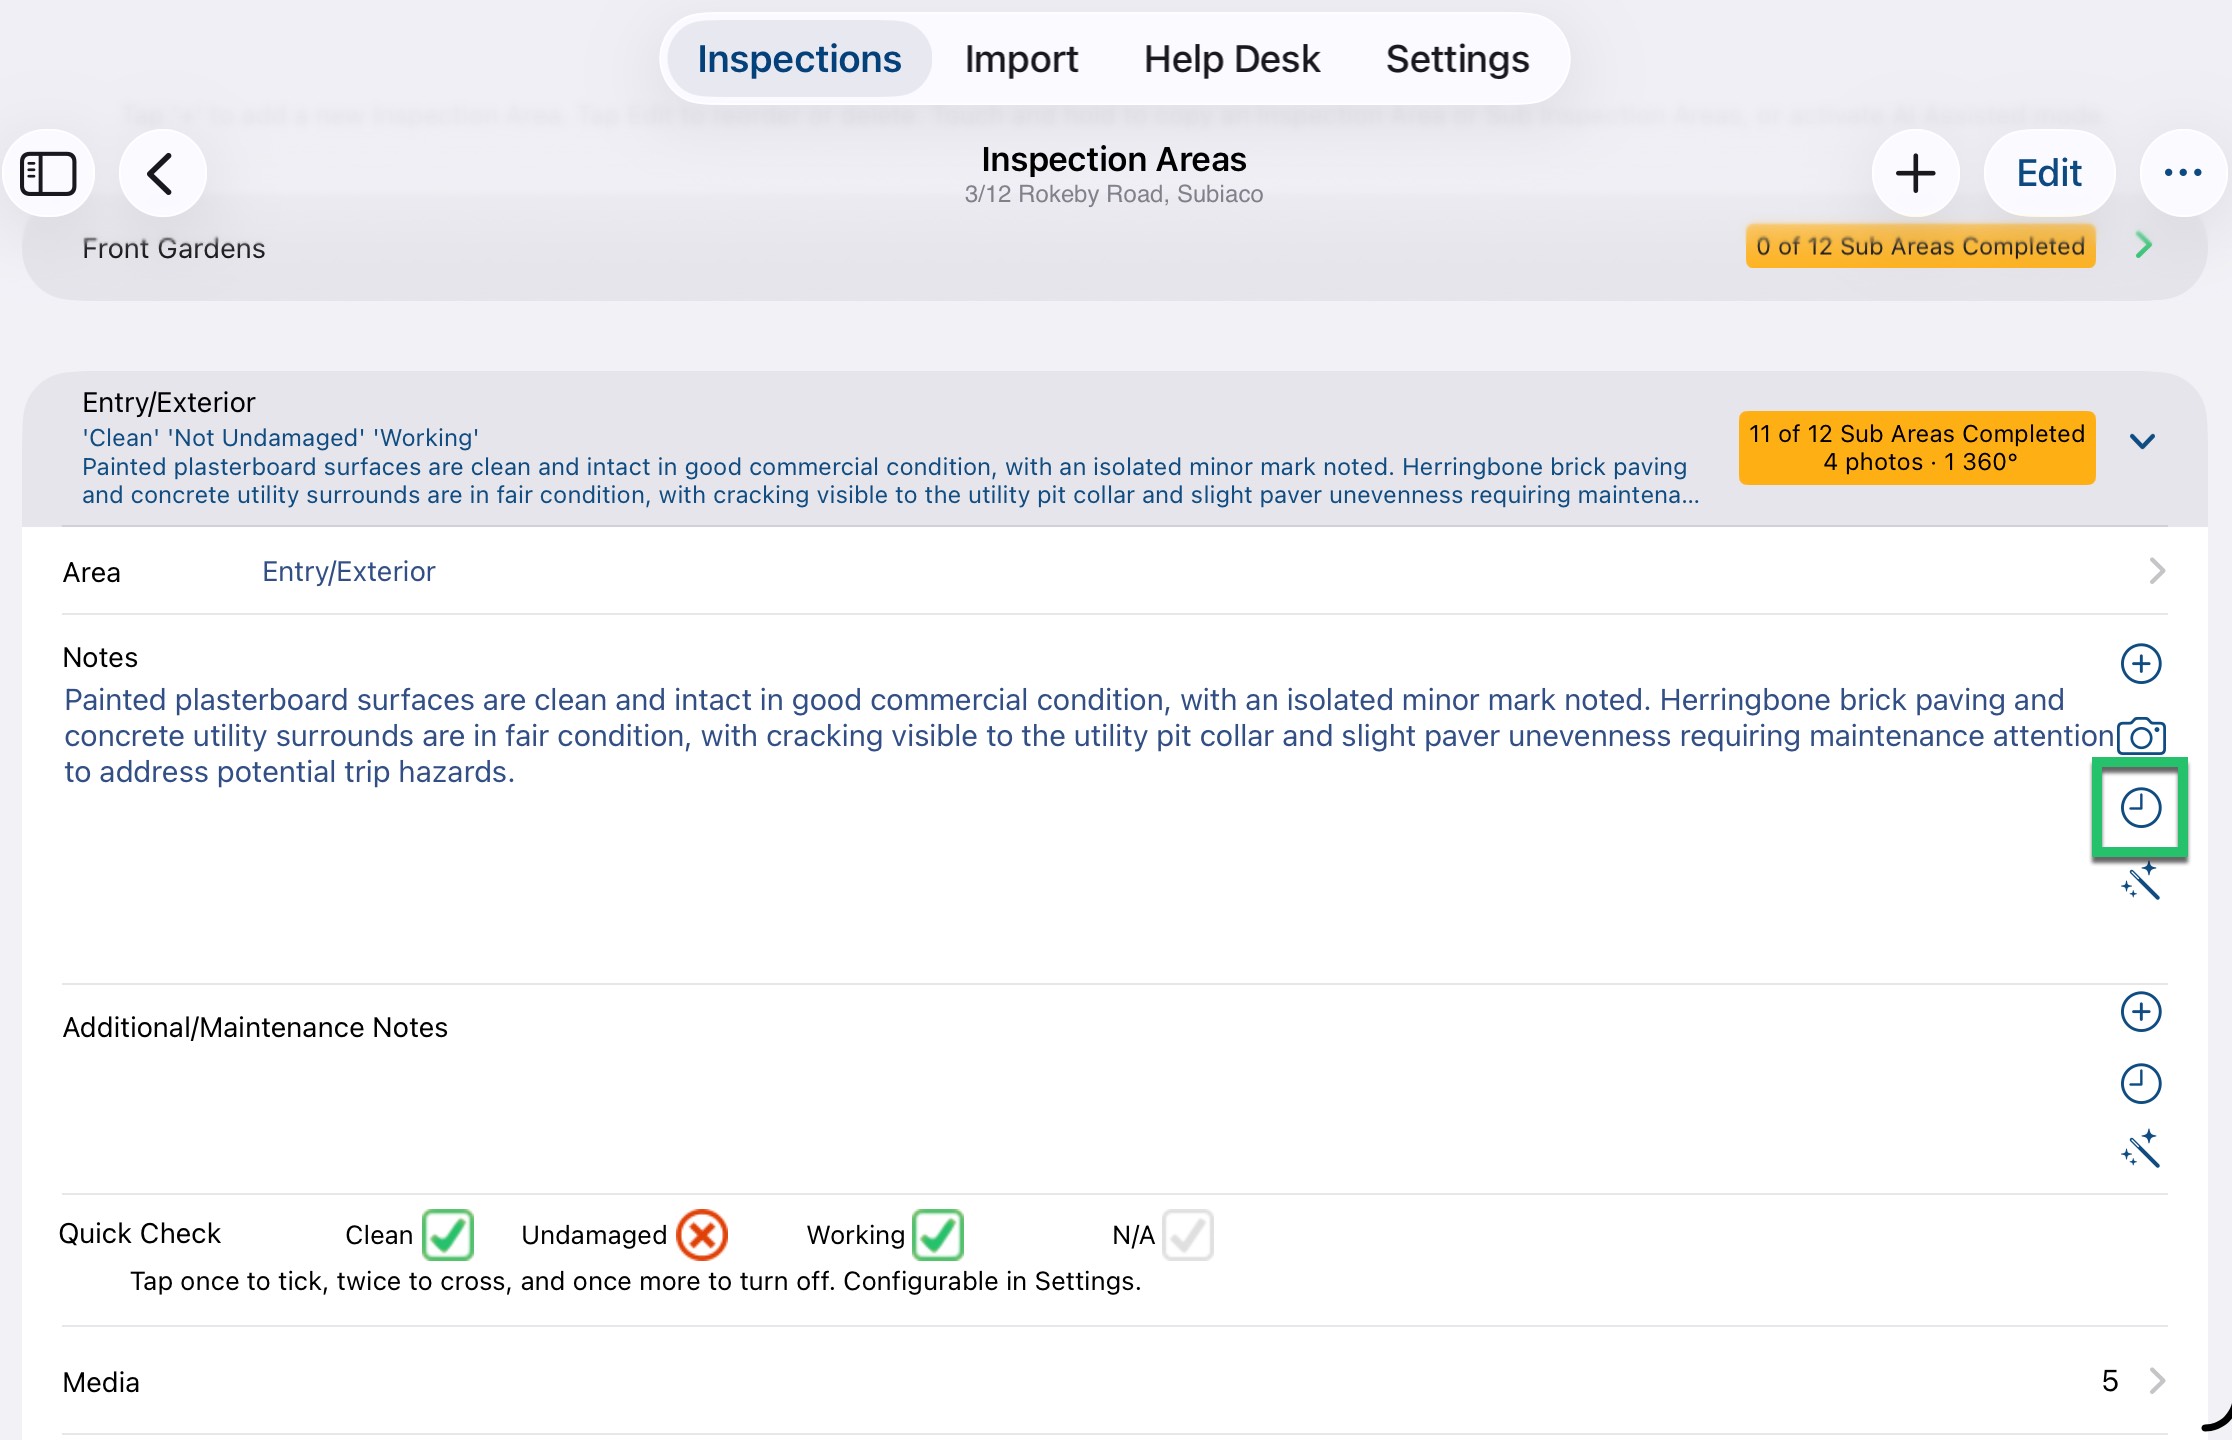
| 3 | The Area History panel opens, showing the previous inspection for that area — its inspection type and date, Quick Check marks, notes and photos. |
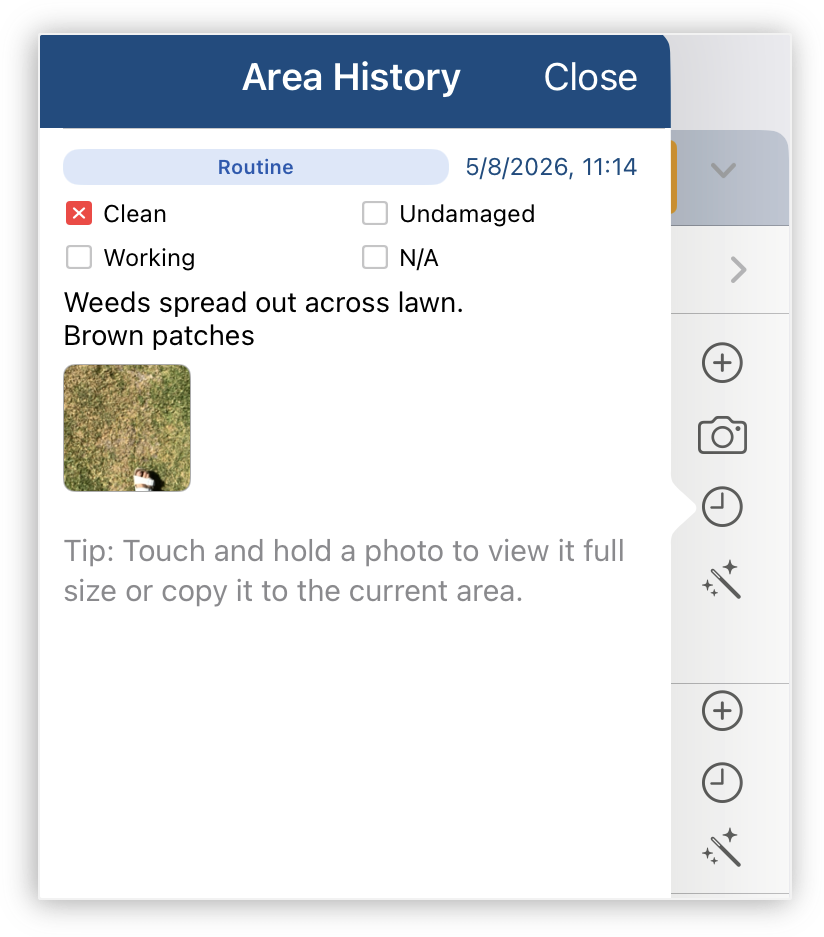
| 4 | Touch and hold a photo to view it full size, or to copy it into the current area. Tap Close when you're done. |
The previous inspection needs to be on this device. If it was saved to the PIM Cloud, sync it first — see Syncing New and Updated Inspections.
Comparing Entry and Exit Photos
At an exit inspection, open the area's history to see the previous inspection's photos and notes for that same area — for example, the entry condition. Compare them against what you're recording now, area by area, to capture anything that has changed. Touch and hold a history photo to view it full size, or to copy it into the current area.
Focus on changes beyond fair wear and tear. The previous inspection's photos, with their date and notes, give you a clear point of comparison to support a fair bond assessment — and to rely on if the matter goes to a tribunal.
To carry an entry inspection's photos and notes straight into the exit inspection from the start, use Repeating Inspections and choose Repeat Inspection (With Photos).
Was this article helpful?
That’s Great!
Thank you for your feedback
Sorry! We couldn't be helpful
Thank you for your feedback
Feedback sent
We appreciate your effort and will try to fix the article