Sharing Settings in PIM
If you’re on PIM Premium, you can easily share your settings with your team so everyone’s on the same page — and using the same setup.
When to Share Settings
Sharing comes in handy when:
You’ve finished your PIM Premium trial, set up your Inspection Areas/Sub-Inspection Areas, Property Profiles, and Shorthand Words, and now want those settings on all your team’s devices.
You’ve asked our support team to switch you to Commercial Inspection mode (or back to Residential Inspection mode).
You’ve worked with PIM Support on a brand-new, custom settings file and need it installed across the office.
Restore All vs Merge — What’s the Difference?
When you share settings, PIM will ask whether you want to Restore All or Merge:
Restore All – Wipes the device’s current settings and inspections, then replaces them with the shared settings. Great for brand-new devices or starting fresh, but make sure you’ve submitted any inspections you want to keep first.
Merge – Adds the shared settings to what’s already on the device, keeping existing inspections safe.
? Tip: If you’re not 100% sure, choose Merge — it’s the safer option.
STEP 1: Setup your PIM Settings and Upload
- If you want to share Settings amongst your property managers in the office, consult them and work out which Inspection Areas/Sub Inspection Areas, Property Profiles and Shorthand Words you would like to be shared and have consistency throughout your office.
- Nominate one device and enter the Inspection Areas/Sub Inspection Areas, Property Profiles and Shorthand Words in PIM Settings.
- Once that is done select Settings → PIM Admin → Share Settings (see screenshot below)

- Now select Upload Settings (see screenshot below)
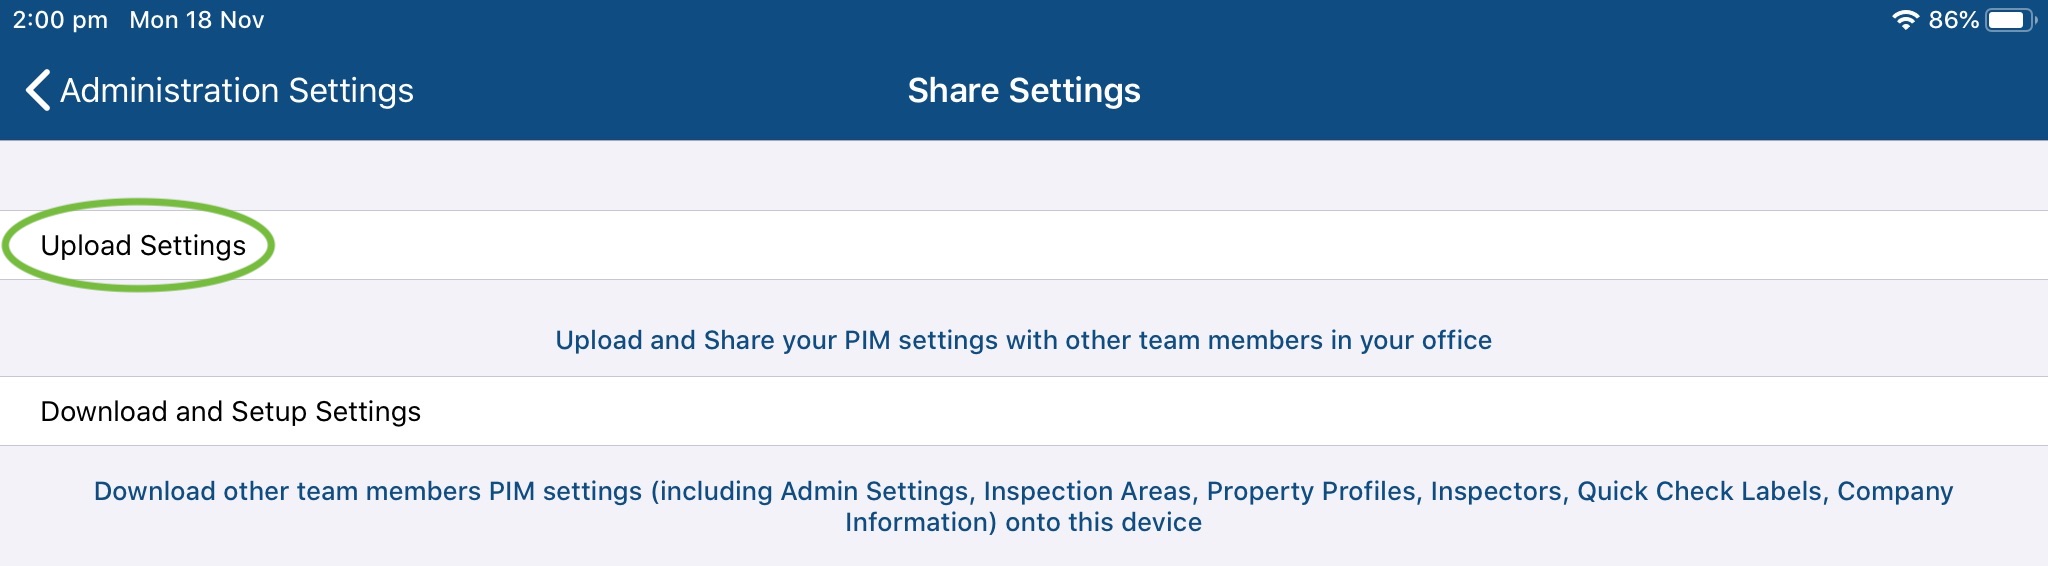
- That's it. Your PIM Settings are now available to be downloaded onto other devices in your office.
STEP 2: Download Settings
- Select Settings → PIM Admin → Share Settings (as discussed in Step 1)
- Now select Download and Setup Settings
- A list of Settings shows now be displayed.
- If a property manager from your office (or yourself) has just performed Step 1 on another device, then a Setting file should be listed showing the Device and Property Manager/User of the user who uploaded that Settings File. Select that File (so it is ticked) and tap Continue.
- If you have previously contacted PIM Support and have had a Settings File (either Residential or Commercial) prepared for your office, select the file/entry titled Remote Setup (so it is ticked) and tap Continue.
- When prompted, you’ll be asked whether to Restore All or Mergethe settings from the selected settings file or device with the ones currently on your iPad.
Restore All – Best for brand-new iPads or if you want to completely start fresh. This will replace all settings and delete any existing inspections on the device. Only use this if you’re sure you don’t need anything currently saved.
Merge – The safer choice. This will combine the selected settings with the ones already on your iPad, keeping your existing inspections intact.
Once you’ve made your choice, your updated PIM settings will be ready to use!
Was this article helpful?
That’s Great!
Thank you for your feedback
Sorry! We couldn't be helpful
Thank you for your feedback
Feedback sent
We appreciate your effort and will try to fix the article